Now that the weather is turning.. I'm guessing your house's odor could use a freshening-up. Why not make some Chick Stock? The process is fairly simple, but probably best reserved for your day off. Here's what I did:
 |
| This is roughly-10# of chicken carcasses. These came from Vital Farms. I started this process after I got off work and worked into the night a bit before making dinner and going to sleep. |
 |
| This here is the fixins of a Mirepoix. Mirepoix is like the Holy Trinity of Cajun/Creole cooking: 1 part carrots, 1 part onions, one part celery. For the amount of stock I'm making, some would argue that this amount of mirepoix is extraordinary, but I wanted to make a stock of the heartiest variety.. No skimping on account of the food eaten in my house! |
 |
| While you're chopping up your mirepoix, start warming a pot of water and add a bouquet of fresh bay leaves. Break each leaf a bit to help release the flavor. |
 |
| This is about 6# of roughly chopped mirepoix. Reserve this while you brown your chicken carcasses. |
 |
| I forgot to take a picture of what they looked like after browning in the oven... BUT!! After browning, nestle the mirepoix on top of, and between, the carcasses and replace the pan in the oven to brown. |
 |
| Once browned, add carcasses to warmed, seasoned water. After a few hours, add the mirepoix. Adding the mirepoix later in the process ensures that freshness of flavor inherent in the vegetables, on top of the flavor of the gelatin from the carcasses, stays constant. |
 |
| Though it's already hard to resist stirring the mixture to see your work, it's still important to do so! After a few good stirs, put the lids on the pot and let the mixture simmer until the carcasses fall apart. |
 |
| The process of cooking down the carcasses took roughly eight hours. I checked and stirred the mixture frequently, though I never skimmed any of the fat. A lot of how-to's and classically trained professionals will say, "skim, skim, skim..." But I don't feel the need to do so, rather... I had a better idea that will come up later.. |
 |
| Once the carcasses are broken down, fish the solid masses out of the pot. |
 |
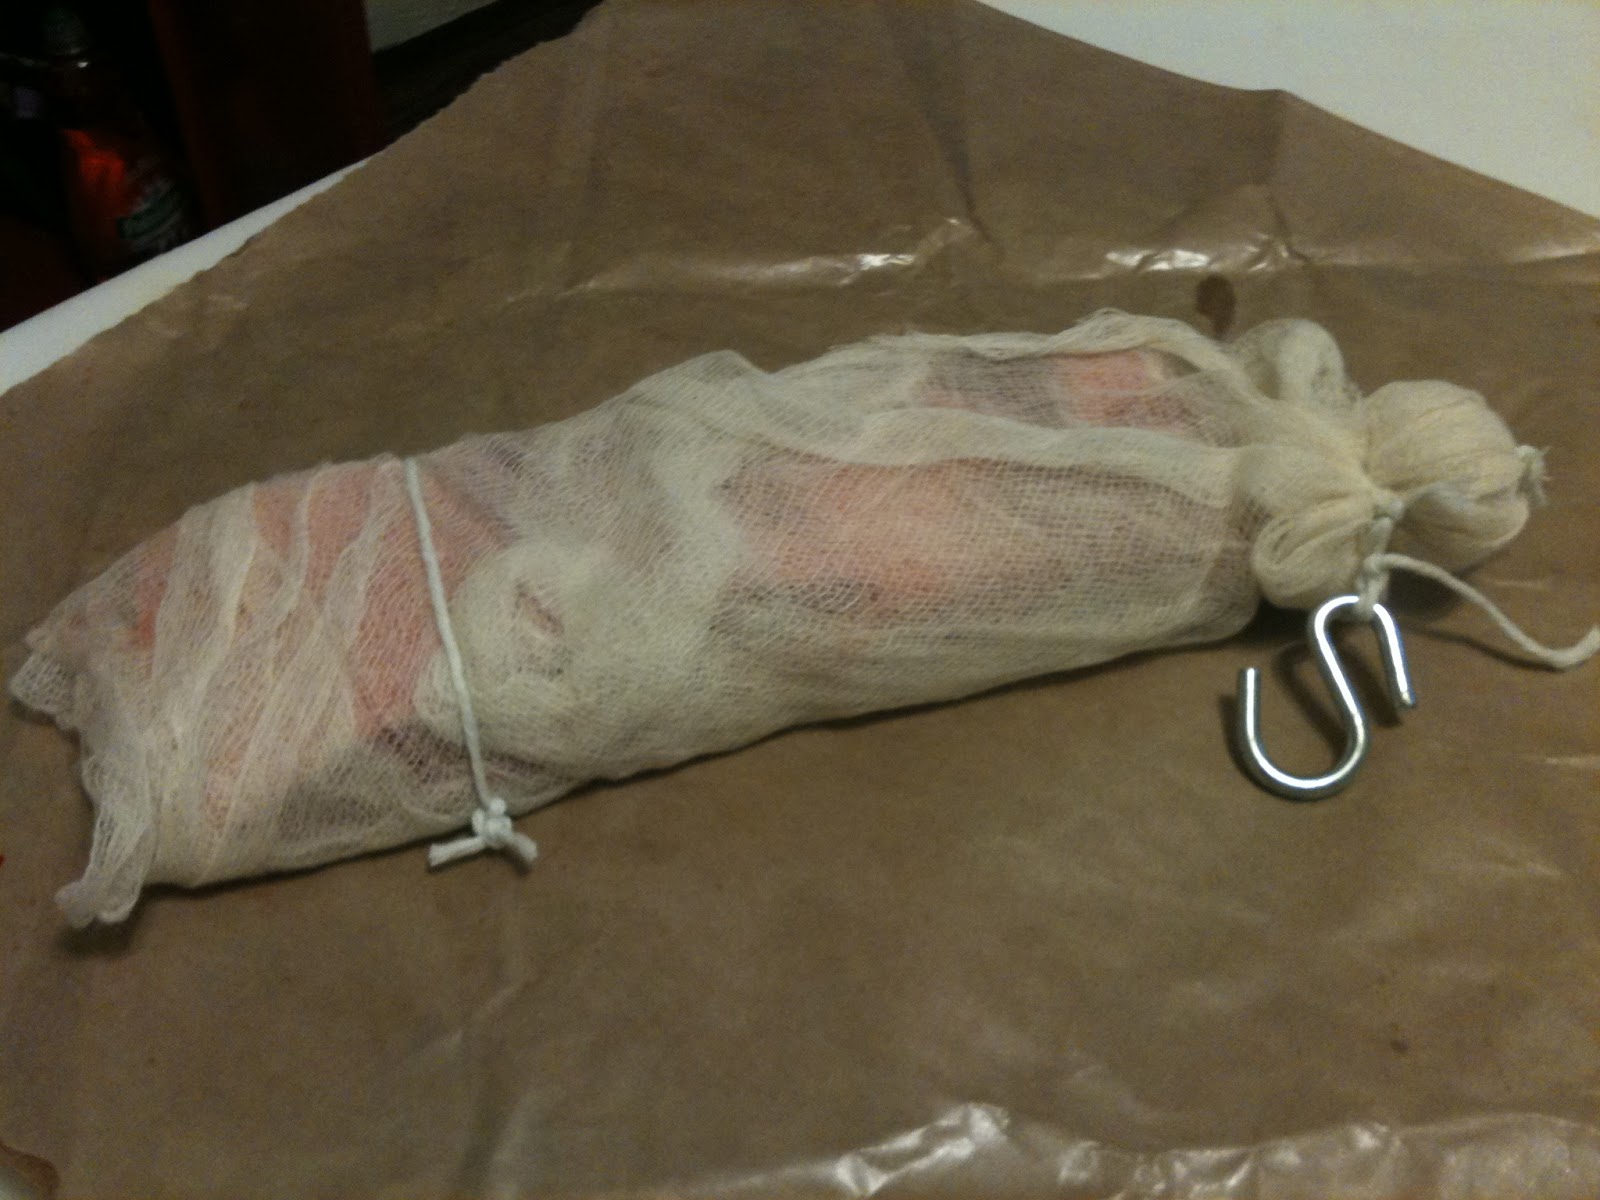
| Once I had all the carcasses fished out of both pots, I transferred all the liquid to my smaller pot and washed the big one (10 Qt.). Line the pot with cheesecloth. This step will strain out any small, crunchy (bones) debris. |
 |
| Once all the liquid is poured, remove cheesecloth and discard. Leave the pot to cool to room temperature. You can quicken this process by transferring the liquid to an already-cool container, but since I wasn't strapped for time, I let it be. |
 |
| Once the mixture is at room temperature, refrigerate until the fat gathers at the top of the pot. Once the fat is 'solidified' (lack of a better word), remove with a spoon and save for later. Chicken fat isn't the best grease to use in the world, but it's still useful. |
 |
| Proper stock is supposed to be fairly translucent... Mine is barely translucent. I set out to make the heartiest stock I could to get me trough the winter (beef stock is coming soon...). |
 |
| All in all, 16 qt's worth of pot-space, ~10# chicken carcasses, and ~6# Mirepoix left me with 6-2 Quart baggies of strong, hearty stock.. And enough reserves to snack on! |
 |
Freeze and stay well-fed.
-Reece |